Follow these steps to convert a model into a working StarryDrive vehicle.
Open Roblox Studio, navigate to the Plugins tab, and click the StarryDrive button.


If you cannot see the plugin, check the Installation and Permissions pages.
Select the model you want to convert into a vehicle, then click the vehicle selection button inside the StarryDrive panel.
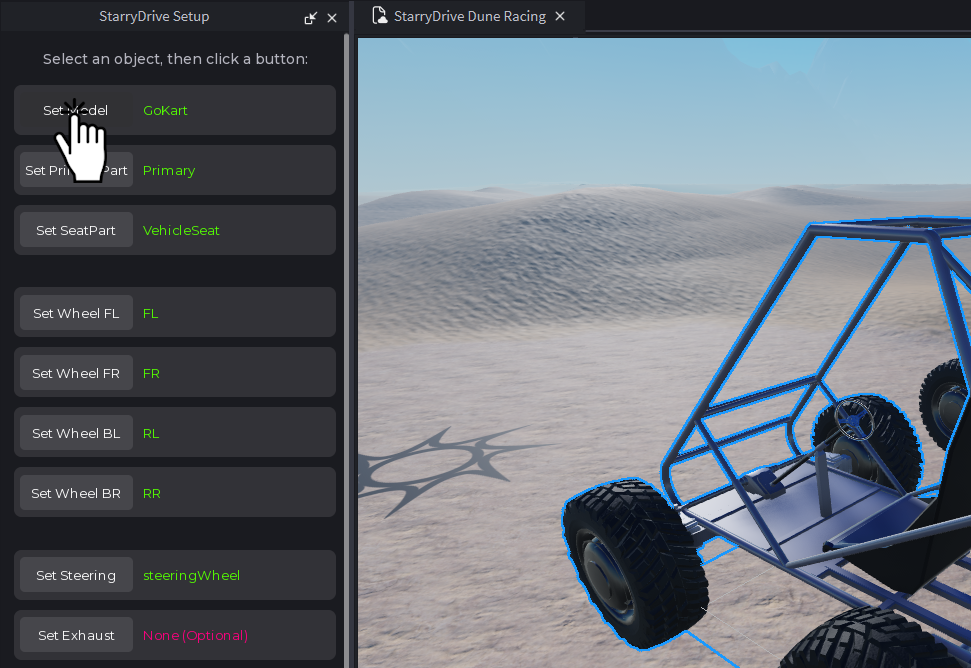
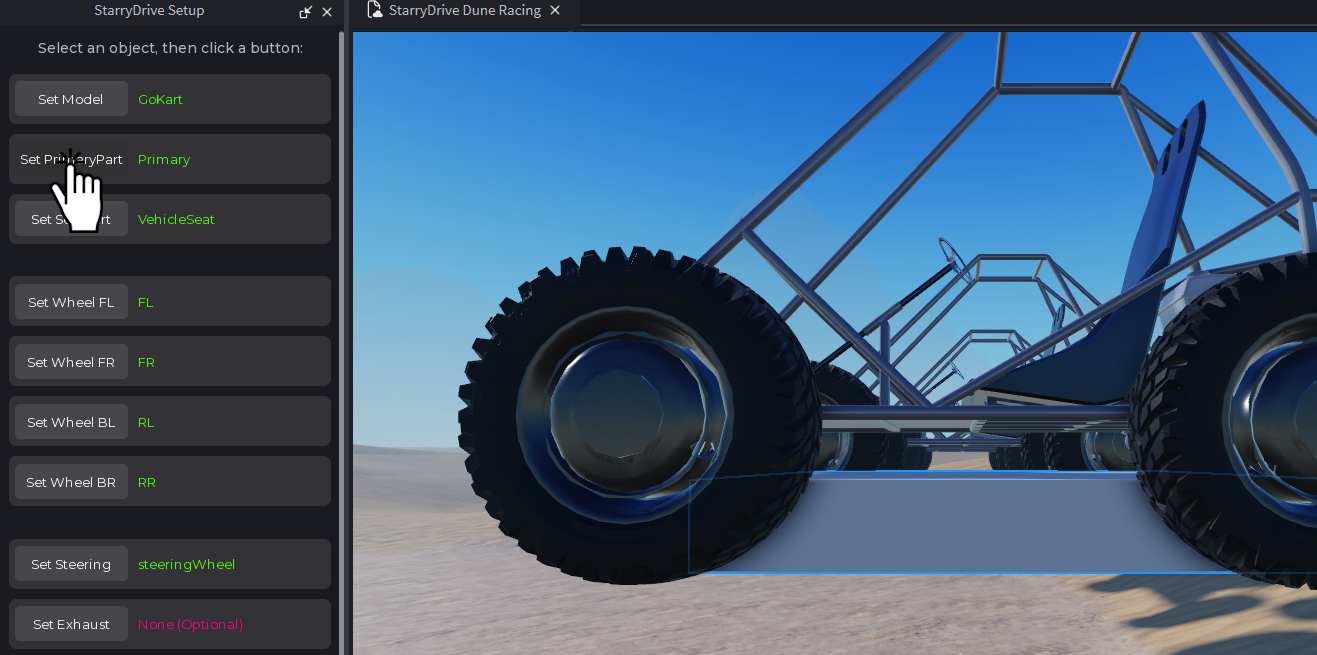
Choose the part that represents the base of your vehicle.
This part will act as the physical reference point for the vehicle, so it should be positioned level with the bottom of the vehicle or wheels.
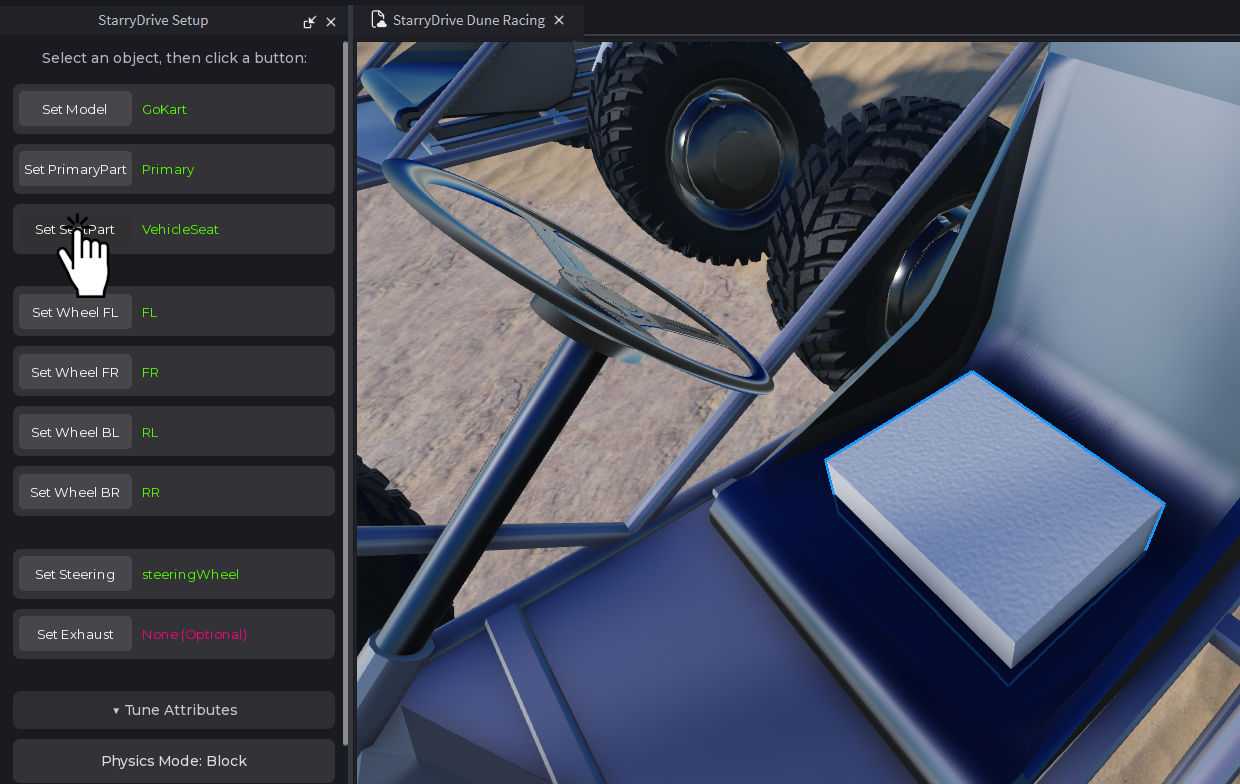
Select the VehicleSeat used to control the vehicle.
The VehicleSeat must be directly inside the vehicle model. Do not place it inside another model or inside the PrimaryPart.
Select either Block Mode or Terrain Mode. Choose Terrain Mode if the vehicle will primarily drive on terrain. Choose Block Mode if it will primarily drive on blocky parts.
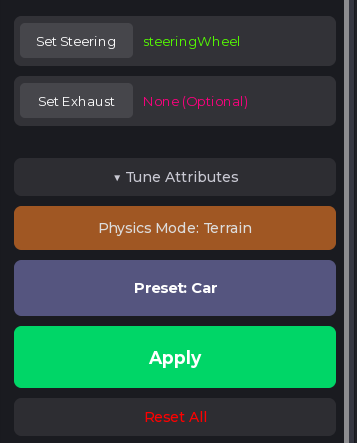
Select a preset such as Kart or Car to automatically configure your vehicle.
Click Apply, then run your game to test the vehicle.
You can return to the setup panel at any time to apply new configurations or manually adjust settings.